Project Firefly
2023-04-28Reports
Introduction
The purpose of this report is to document the process of building a fire extinguishing and gas sensing car using Arduino. The car is designed to detect fire using a flame IR sensor and go towards it to extinguish it if necessary. It also detects gas leaks and alerts the user via SMS. This report will detail the steps taken to design and build the car, as well as the challenges encountered and the solutions implemented.
Materials Used:
- Arduino Uno
- 3 Flame IR Sensors
- MQ-2 Gas Sensor
- Motor Driver
- 2 DC Motor
- Servo Motor
- Water Pump
- Fire Extinguisher (tested with water)
- SIM800L GSM Module
- Breadboard and Jumper Wires
- Power Supply (Battery)
Design:
The first step in building the fire extinguishing and gas sensing car was to design a schematic. The car is powered by an Arduino Uno microcontroller, which controls the sensors, motors, and other components. The 3 flame IR sensors are used to detect fire from three different directions, and the MQ-2 gas sensor is used to detect gas leaks. The motor driver is used to control the DC and servo motors, which drive the car and the water pump, respectively. The fire extinguisher reservoir is mounted on top of the car and the pump pushes the extinguisher from the pipe which is spread by the back-and-forth motion of the servo motor. The SIM800L GSM module is used to send SMS alerts to the user in case of a gas leak.
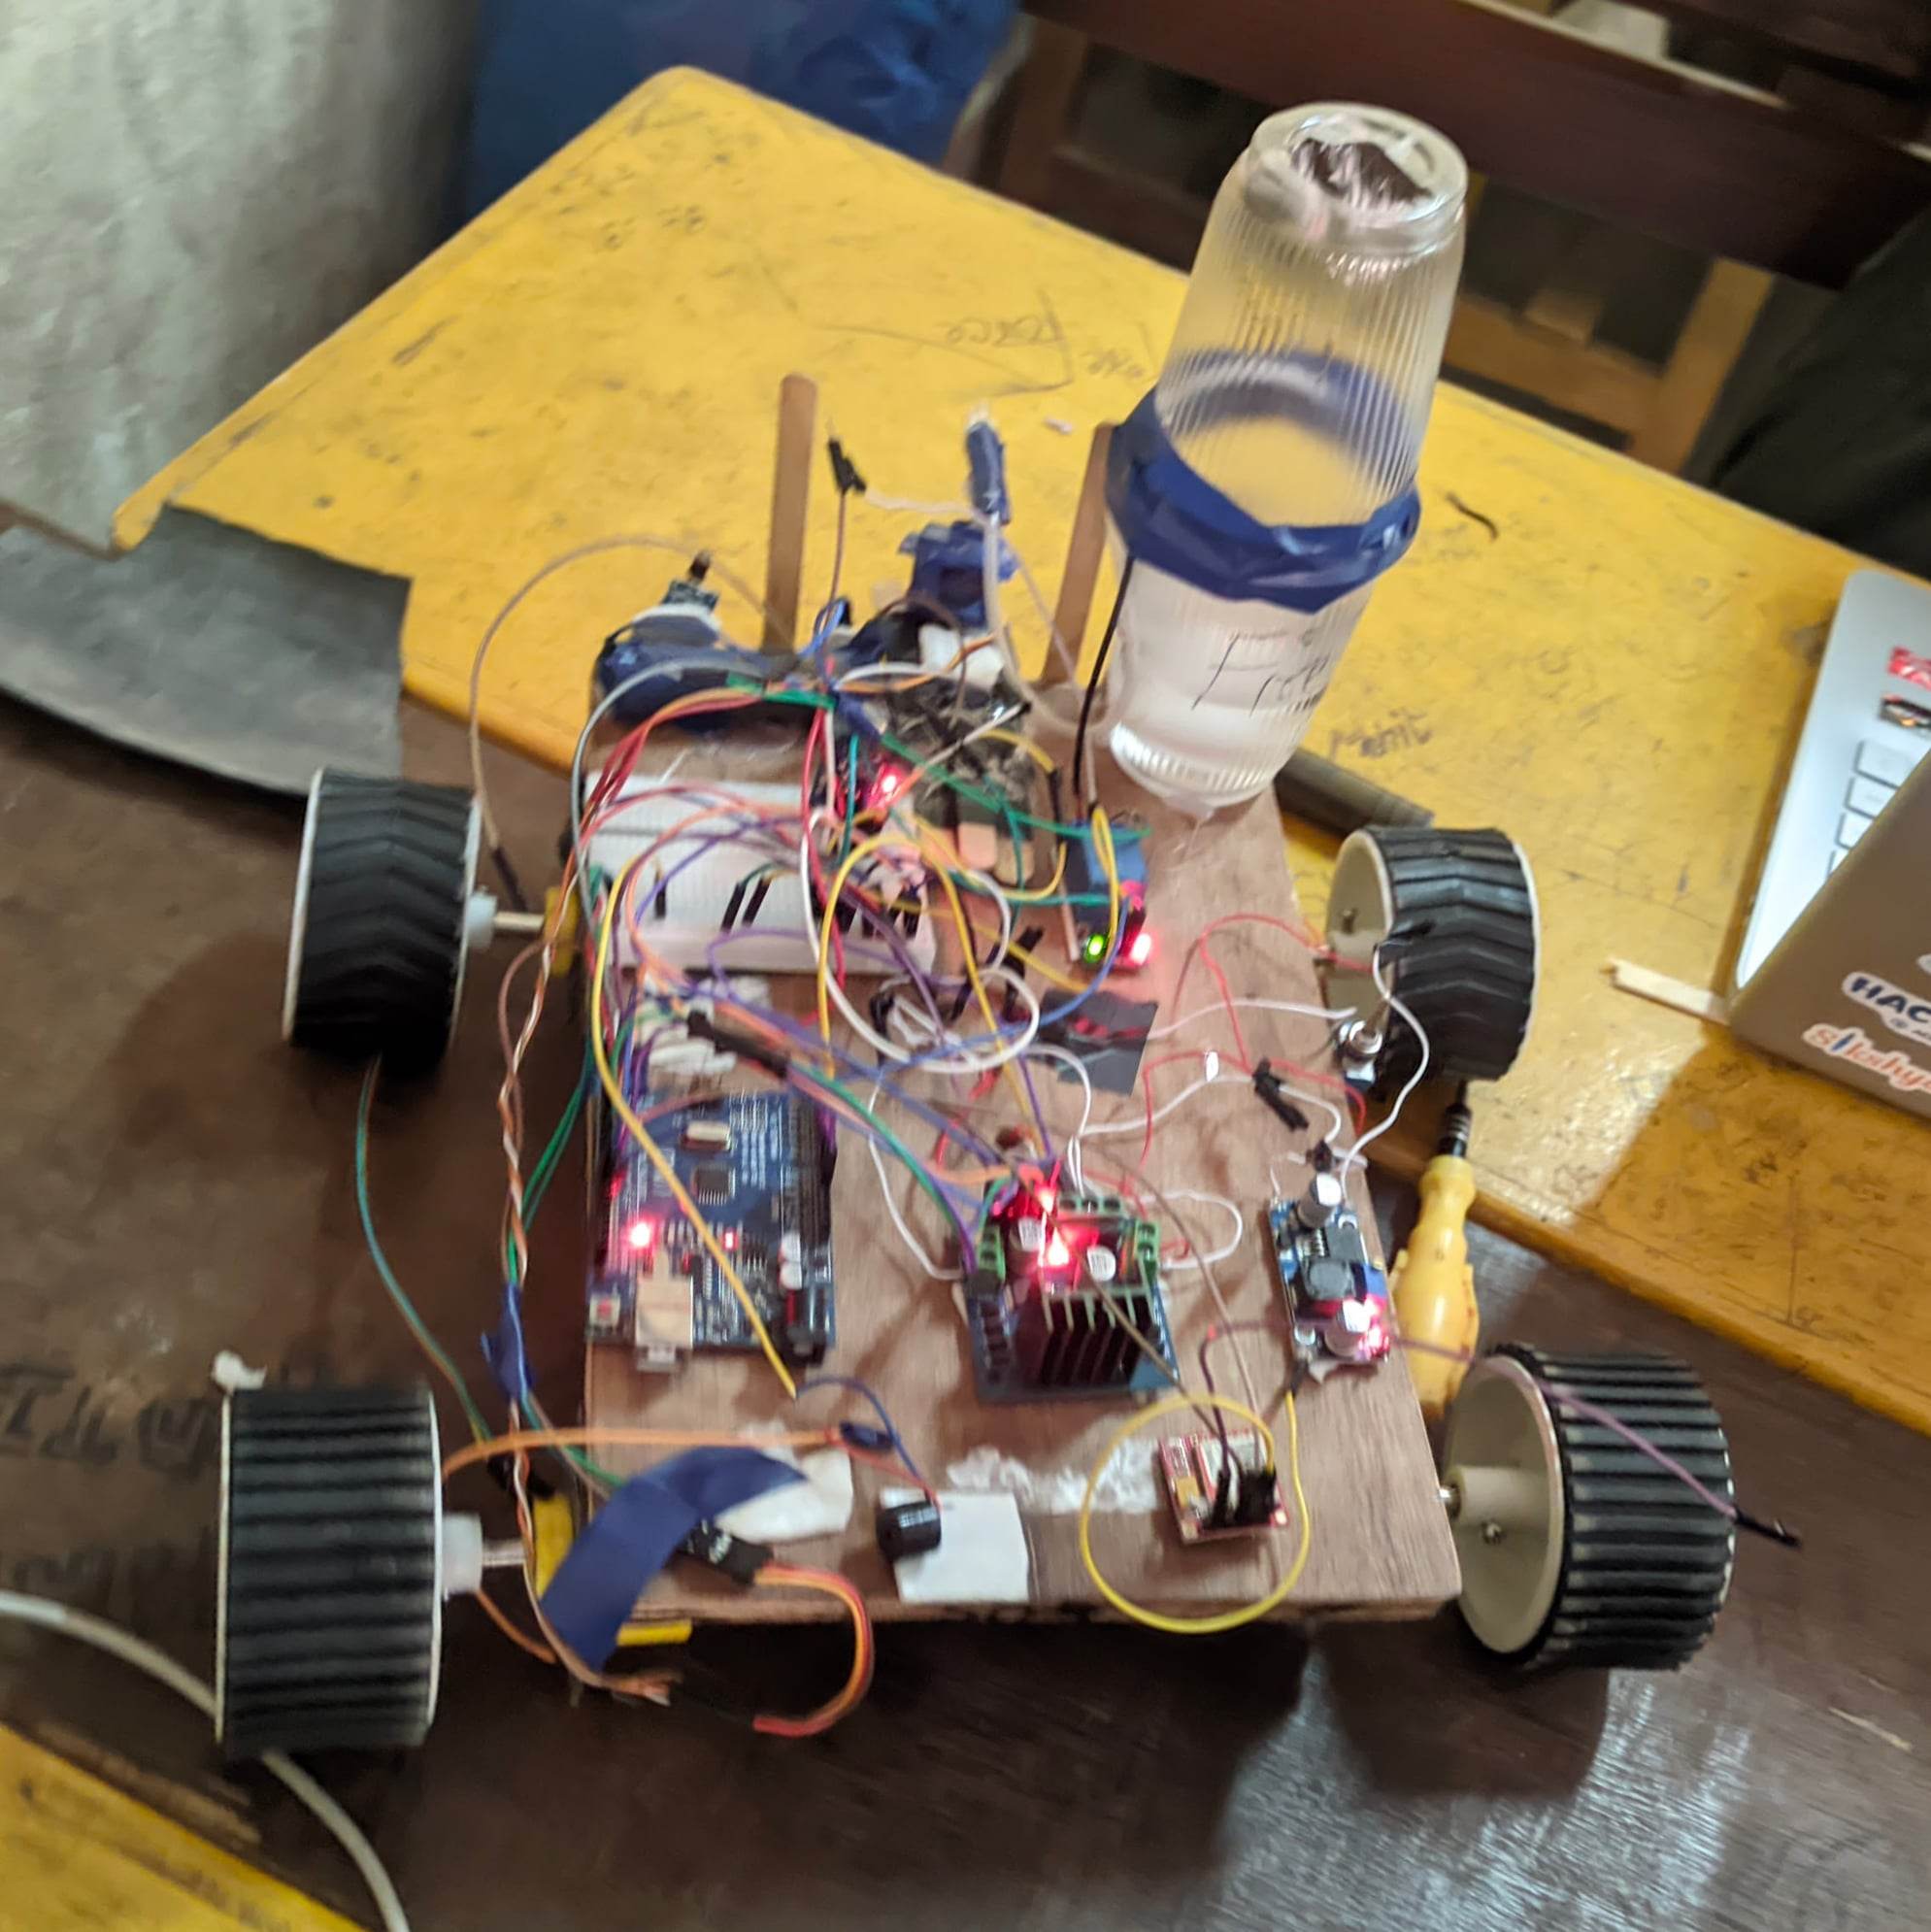
Construction:
Once the schematic was finalized, the next step was to build the car. The components were connected to the Arduino Uno using a breadboard and jumper wires. The flame IR sensors were mounted on the front of the car on in the front and two facing either sides, and the MQ-2 gas sensor was mounted on top. The DC motors were connected to the motor driver and were used to drive the car. The servo motor was connected to the L298N motor driver and was connected to the fire extinguisher. The water pump was connected to the Arduino Uno and was used to pump water from the reservoir to the fire extinguisher which moved in a to and fro motion to spread the water coming out of it.
Testing:
Once the car was built, it was time to test it. The car was placed in a test environment and was subjected to various scenarios. The flame IR sensor was able to detect fire and direct the car towards it. The MQ-2 gas sensor was able to detect gas leaks and activate the SMS alert system. The fire extinguisher was successfully activated by the servo motor, and the water pump was able to pump water to the fire extinguisher.
Challenges and Solutions:
One of the major challenges encountered during the construction of the car was the calibration of the flame IR sensor. The sensor needed to be calibrated to detect the flame accurately and direct the car towards it. The heater connected to our room was also detected as a fire source which made it harder to test the bot. This was solved by testing the sensor with different fire sources and adjusting the code accordingly. Our test subject for demonstration was a burning paper which was used for the calibration of flame sensor.
Another challenge was the activation of the fire extinguisher. The servo motor had to be calibrated to activate the extinguisher at the right time, and the water pump had to pump the water at the right pressure. This was solved by adjusting the code and the components until the system worked correctly.
Conclusion:
In conclusion, the fire extinguishing and gas sensing car using Arduino is a useful device that can prevent fires and detect gas leaks. The car is powered by an Arduino Uno microcontroller and uses sensors, motors, and other components to perform its functions. The car was designed and built with the help of a schematic, and was tested successfully. The challenges encountered during the construction were solved by adjusting the code and the components. The car can be further improved by adding more sensors and refining the code as the SMS functionality was still flaky.